How to use NIST’s ACTS tool for Combinatorics testing
Background
ACTS is a tool developed by NIST for generating combinatorial test cases using parameters and constraints. To get a copy for yourself, and to read more about the benefits of combinatorial testing, please visit this page.
I also have a copy of the tool which you can download from here.
Usage
Let’s run through a basic example of using it in order to understand how it works.
In our hypothetical scenario, say we’re testing a webapp in which a user can create various types of content, including blog posts and discussions. We need to test the app in IE and Chrome, on Windows and macOS.
So, our parameters will be:
Content type
- Blog post
- Discussion
Operating system
- Windows
- macOS
Browser
- IE
- Chrome
We’ll need a constraint around IE, because IE is not available on macOS.
1. Download the attached zip file and extract it.
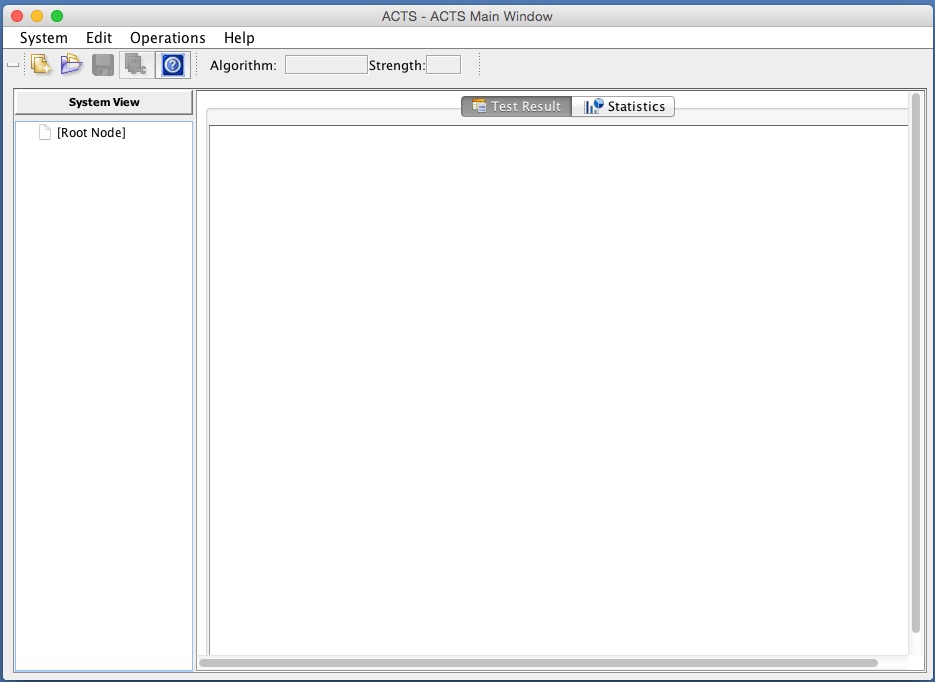
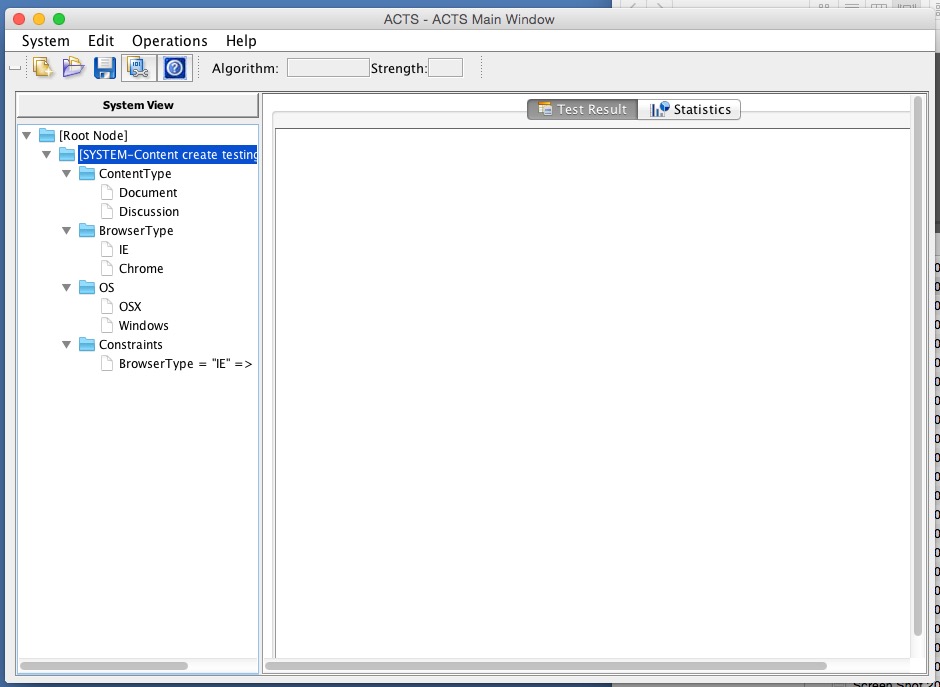
2. Open the “acts_2.93.jar” file. You should see a window that looks like this:
3. Let’s create a system. A system is where all of our parameters and constraints will live. Click System -> New.
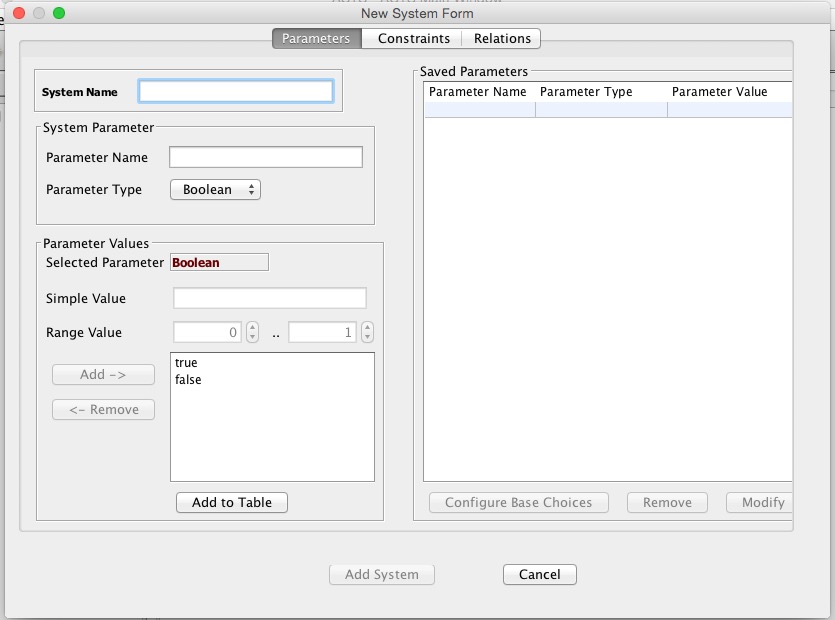
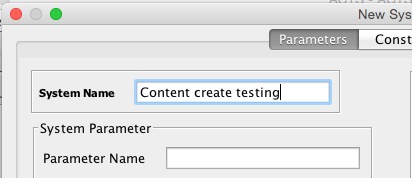
4. Name your system “Content create testing.”
5. Add parameters
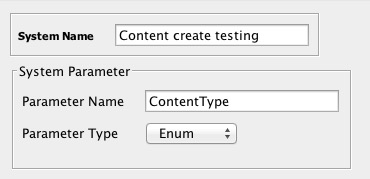
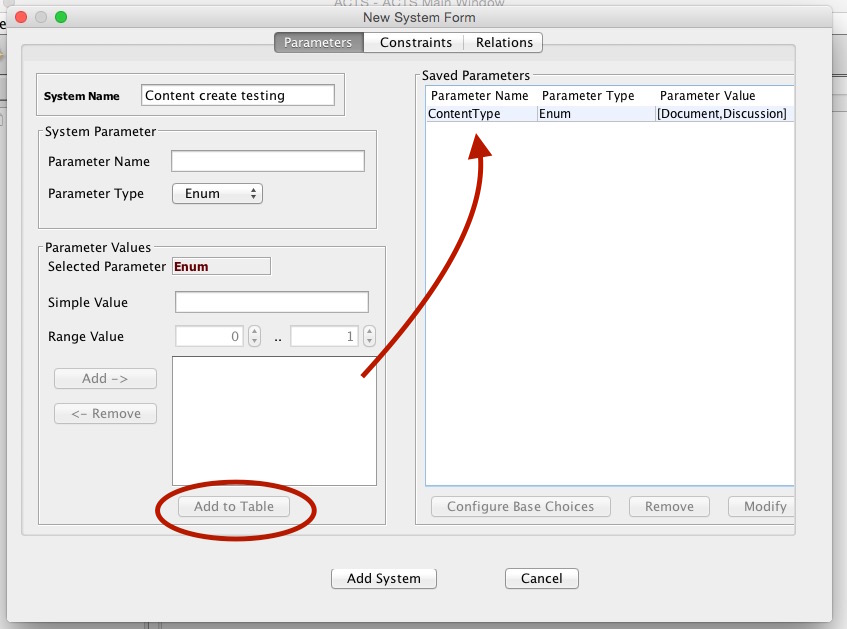
Our first parameter is the ContentType. This will be an enum that can be a discussion or a blog post. To add it, select Enum for the parameter type, and name the parameter “ContentType” (Note that parameters are not allowed to have spaces).
Now, add the possible values for the parameter.
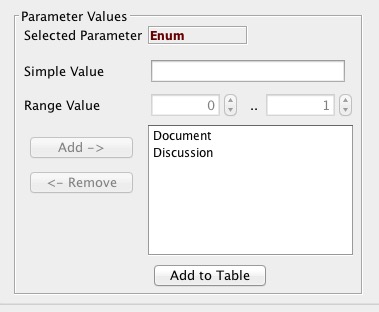
Click “Add to Table” to add them to your system. You’ll now see them in the table on the right.
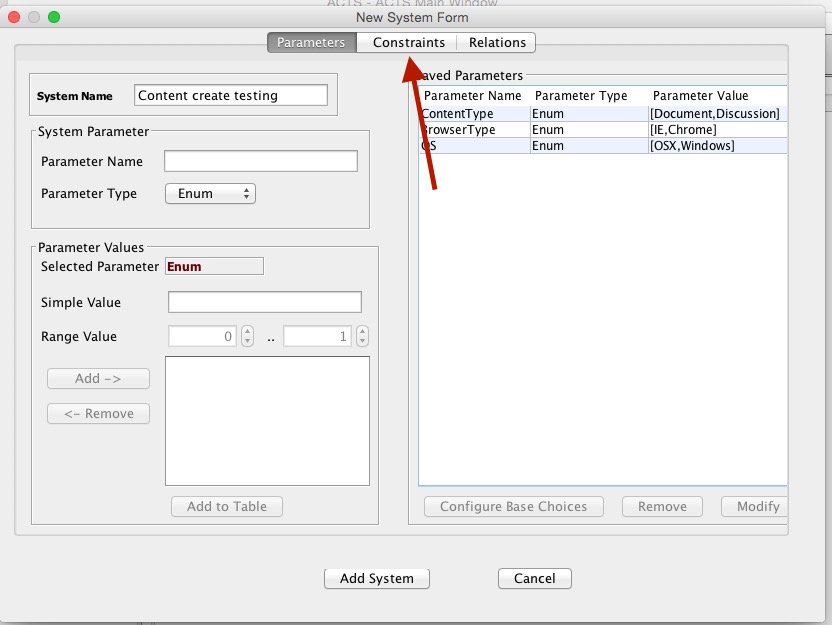
Add the other parameters for operating system and browser type.
6. Add constraints. For our hypothetical test case, we need a constraint around the browser, since IE is only available on Windows. To add this constraint, click “Constraints.”
The constraint, in this case, will look like:
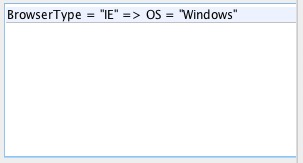
Once you’ve added it, click the “Add System” button at the bottom of the window. You’ll be taken back to the main screen, with your parameters and constraints in the left column.
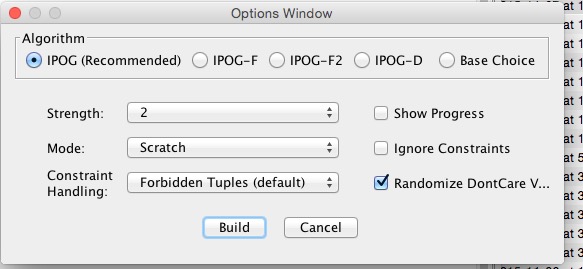
7. Now for the fun part. Generating test cases! Click Operations -> Build. Use the default settings:
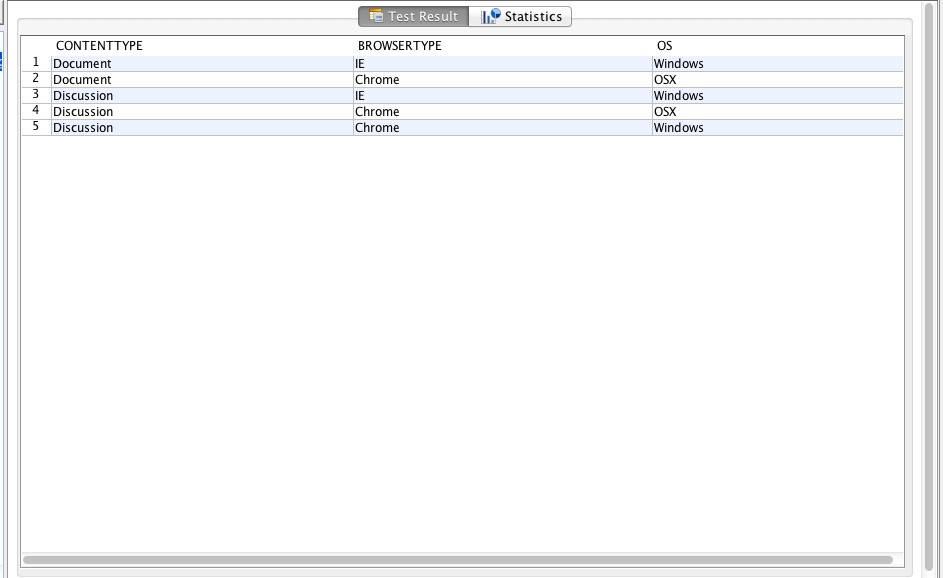
After you click “Build,” your test cases will appear in the main window.
If you like, you can export them to CSV using Operations -> Export.
Comments